So you have got a Philips universal remote and now want some guidance to set it up, right? Well, you have come to the right place. Here is what exactly you need to understand and follow in order to program Philips universal remote control in less than 30 seconds.
Here we will show you 2 different methods by which you can set up your remote. One is the manual registration method and the other is the automatic registration method. A complete guideline with step-by-step instructions along with illustrations is provided for each method for easy understanding.
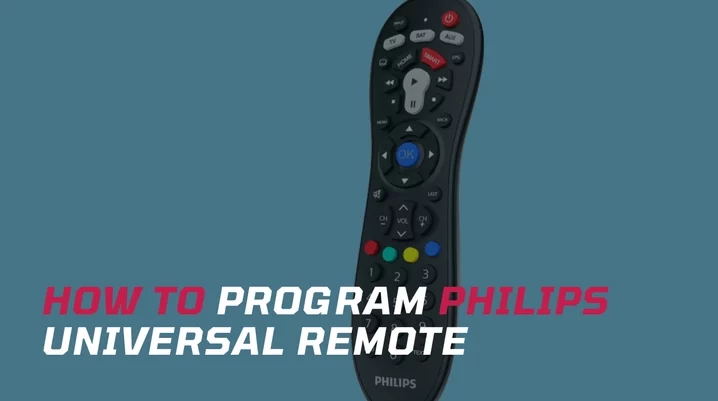
How to Program Philips Universal Remote
Note that in this tutorial we are using the Philips universal remote model SRP3013.
Manual Programming With Code
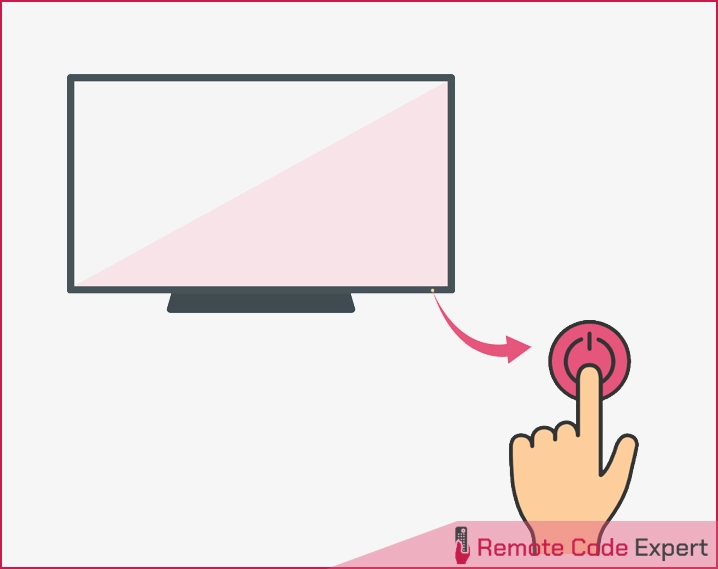
- First, power on the device you want to control.
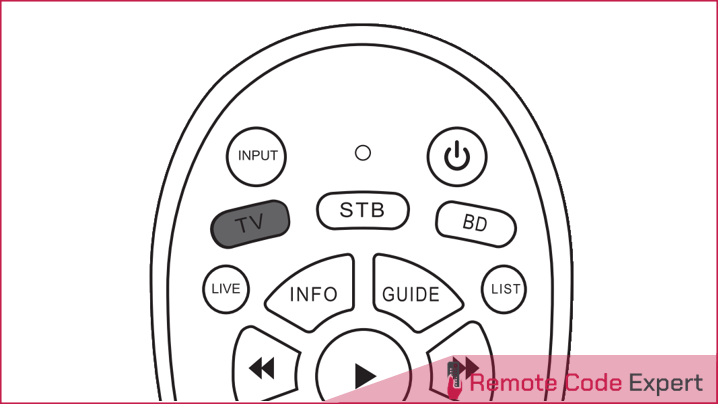
- Press and hold the device selection button (e.g. TV) for 5 seconds until the blue LED is on.

- Look up the 4-digit or 5-digit code for your brand in the code list.
- Enter the first 5-digit code using the numeric buttons.
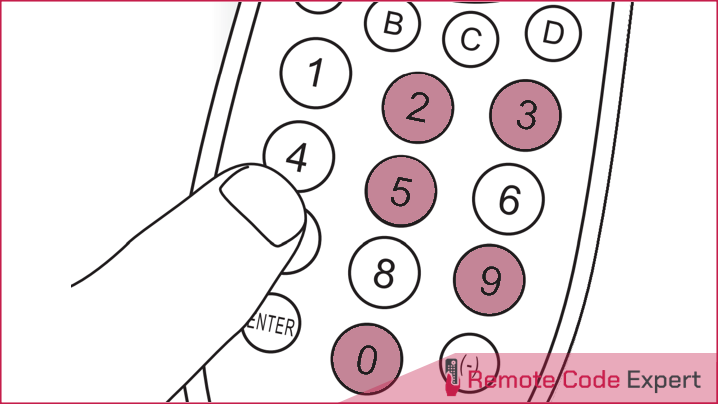
- If the light is off, a valid code is saved. Otherwise, the light will flash once, and then remain on for code re-entry.
- Finally, test the device with the universal remote. If your device responds correctly, it means you have entered the right code. Otherwise, repeat from step 2, and enter the second code on the list.
To understand the manual registration method, you can check the video guide below.
Program Philips Universal Remote Without Code
If, for any reason, you can’t set up your remote using the manual method, you can try the automatic registration method which automatically scans the code database and finds the right remote code for your particular device.
- Power on your device.
- Press and hold the device selection button (e.g. TV) for 5 seconds until the blue LED is on.
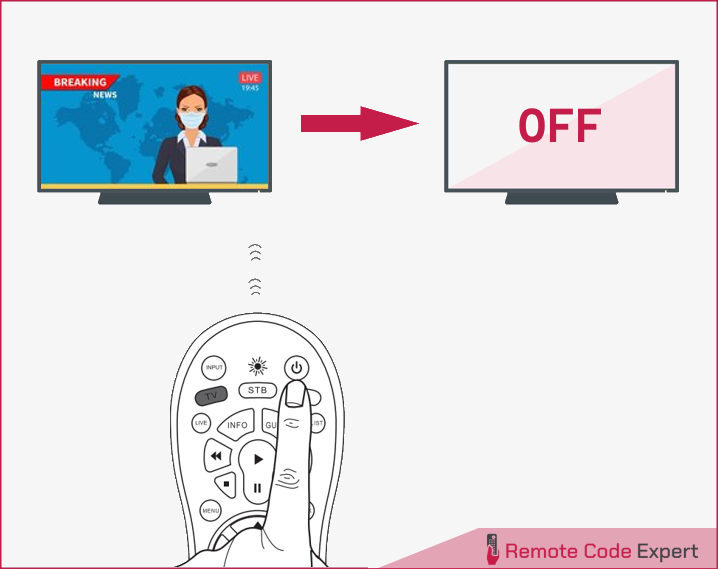
- Point at your device with the universal remote. Then press and release the Power button to start searching the code for your brand. A different infrared signal is sent every 2 seconds as the universal remote searches, indicated by a blue flash.
- When the device is off, immediately press and release OK to save the code. The blue LED indicator will turn off.
- Now test the device with the universal remote. If your device responds correctly, it means you have saved the right code.
So that’s how to program Philips universal remote without codes. To understand the process better, you can check out the below video that explains the pairing process without codes.
Now that you have a clear-cut idea about Philips universal remote programming, we hope that this article will guide you to set up your remote for your device. You can try the direct method first if you have an appropriate Philips remote code with you. If it doesn’t work, then try the automatic method to avoid all the headaches of searching and finding the remote codes. Once you have paired your device with the remote, you will be able to control all the functions of your device.
So give it a try and let us know how it worked for you. Also, if you have any doubts or queries, feel free to write them in the comments section.